- Open your “index.html” file in Adobe Dreamweaver.
- Save a new version of the fileas “gallery_1.html” (File > Save As)
- Ensure that the "jquery.lightbox-0.5.css" file is saved in the "css" folder
If you did not add this code during the "Interactivity" step, add this CSS code in the <head> tag under the code that links the other CSS files.
If you already completed this step, move forward and skip this step:
- Ensure that the "lightbox.js" and "jquery.lightbox-0.5.js" files are saved in the "js" folder
- If you did not this in the "Interactivity" step, add this JAVASCRIPT code in the <head> tag If you already completed this step, move forward and skip this step:
- Maintain the same main structure as your home page, such as the division Selector IDs (#divs) of: frame, header, header_logo, nav, intro; stage, col_1, footer, footer_social and footer_copyright.
Delete the div tags: col_2 and col_3.
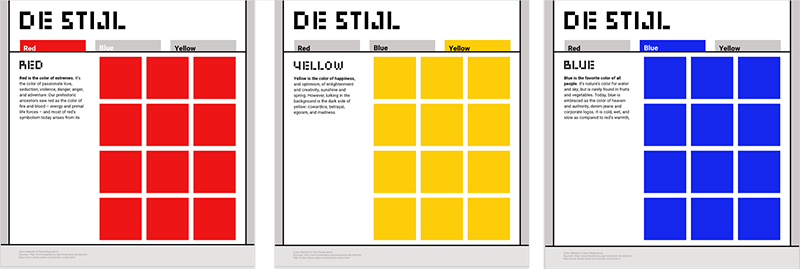
- Replace the content in #col_1 to include the text related to the specific color (Color #1).
- Add a new Selector ID called #gallery after #col_1 (where #col_2 used to be) within the #stage. You already have a CSS declaration written in the external CSS files for the #gallery.
- Add an Unordered List into the #gallery by typing <ul> and </ul>after #col_1 (where #col_2 used to be) within the #stage. You already have a CSS declaration written in the external CSS files for the #gallery.
- Insert one image from the “thumbs” folder into the #gallery tag as a List Item <li>:
- Copy and paste the code for each image , but change the following content ( to what is appropriate—they should not all be the same):
- file names (a href and img src)
- alt tags
- title
- yellow_sm_1.jpg is referencing an image file that is the small thumbnail image that you click on inorder to see the large image in the pop-up interactive gallery slideshow ("Lightbox"). The dimensions default to the size the images was formatted to.
These images must be in the the "thumbs" folder within the "images" folder.
- yellow_lrg_1.jpg is referencing an image file that is the large image that you in the pop-up interactive gallery slideshow ("Lightbox"). The dimensions default to the size the images was formatted to. The Title code must be changed to include the original source link: Large Image title: © Source Link
These images must be in the the "large" folder within the "images" folder.
- Test the page to make sure the interaction works. If it doesn't work, review the steps to make sure you didn't miss anything.
- Add additional images into #gallery. You can do this by copying and pasting the code for Image #1 and then changing the file names for each image.
- Test the page again before you proceed to next steps.
- Save a new version of the fileas “gallery_2.html” (File > Save As).
- Change the content to fit the second theme/color (images/text).
- Repeat Steps for the final Gallery page, as well.
Now that you have a working one-page website, we are going to add three (3) more pages that feature a gallery that is interactive using jQuery (a type of Javascript).
Now we are ready to add a new page that will feature a gallery. You will repeat some steps you did when you created your home page.
You will need to design how the gallery will look and export any images that are needed before you can create a new HTML file.
Save new HTML File
Add Javascript <head>
<link href="css/jquery.lightbox-0.5.css" rel="stylesheet" type="text/css">
<!-- Opening jQuery lightBox plugin -->
<script type="text/javascript" src="js/jquery.js"></script>
<script type="text/javascript" src="js/jquery.lightbox-0.5.js"></script>
<script type="text/javascript">
$(function() {
$('#gallery a').lightBox();
});
<!-- Closing jQuery lightBox plugin --></script>

<!--[if IE]-->
<script src="http://html5shiv.googlecode.com/svn/trunk/html5.js"></script>
<!--[endif]-->
Change Structure
<div id="stage">

<div id="col_1">
<h1> Gallery Theme Name</h1>
<p class="bodytext">Describe the theme and content for this specific page here. The paragraph should be unique and informative.</p>
<!--Closing Tag for col_1--></div>


<div id="gallery">

<ul>

</ul>

<!--Closing Tag for gallery--></div>

<!--Closing Tag for stage--></div>
Add Images to Gallery and Make Interactive
<div id="gallery">

<ul>


<!--This is the code for Image #1-->
<li>
<a href="images/large/red_lg_1.jpg" title="Large Image title: © Source Link" data-lightbox="gallery">
<img src="images/thumbs/red_sm_1.jpg" alt="Thumbnail Image Description" title="Thumbnail Image Title"></a>
</li>

<!--This is the code for Image #2-->
<li>
<a href="images/large/red_lg_2.jpg" title="Large Image title: © Source Link" data-lightbox="gallery">
<img src="images/thumbs/red_sm_2.jpg" alt="Thumbnail Image Description" title="Thumbnail Image Title"></a>
</li>

<!--This is the code for Image...-->
<li>
<!--Add additional images individually as list items here-->
</li>

</ul>

<!--Closing Tag for gallery--></div>